> For the complete documentation index, see [llms.txt](https://docs.blastchain.org/llms.txt). Markdown versions of documentation pages are available by appending `.md` to page URLs; this page is available as [Markdown](https://docs.blastchain.org/contract-deployment-tutorial.md).
# Contract Deployment Tutorial
The Blast Chain Mainnet allows anyone to deploy a smart contract. In this tutorial, you will learn how to deploy a contract on Blast using common tools for developing on Ethereum-compatible networks. This demo repo illustrates contract deployment with Hardhat and Foundry.
{% hint style="success" %}
**Got OWCT?**
Before you start deploying your contract, make sure you have OWCT in your wallet to cover transaction fees. OWCT can be acquired through various exchanges or peer-to-peer transactions.
{% endhint %}
### Initial setup
Add the Blast Chain to your Metamask wallet. Ensure you have some OWCT for transaction fees, which you can obtain through an exchange or peer-to-peer transaction.
Clone the repo using the command below:
```bash
git clone https://github.com/oceans404/fullstack-zkevm
```
Install dependencies and start the React app (you can copy all three lines in one go):
```bash
cd fullstack-zkevm
npm install
npm start
```
Correct installation opens up the Counter App at localhost:3000. You can test it by clicking on the +1 button several times.
Back in the CLI, install the necessary dependencies:
```bash
npm install ethers hardhat @nomiclabs/hardhat-waffle ethereum-waffle chai @nomiclabs/hardhat-ethers dotenv
```
Populate the `.env.sample` file with your `ACCOUNT_PRIVATE_KEY`.
**How to get your private key in MetaMask:**
Ensure that you handle your private key securely to avoid exposing your assets to theft.
Copy the contents of the `.env.sample` file to a new `.env` file:
```bash
cp .env.sample .env
```
### Hardhat smart contract
Next is the initialization of a project using Hardhat. Hardhat cannot initialize a sample project if there is an existing README file. To avoid clashes, rename any existing `README.md` temporarily before initializing Hardhat.
```bash
mv README.md README-tutorial.md
```
* Initialize a project with Hardhat: `npx hardhat init`.
* Next, (… *To avoid failure … please go slow with this cli dialogue*…),
The aim here is to achieve the following outcome:
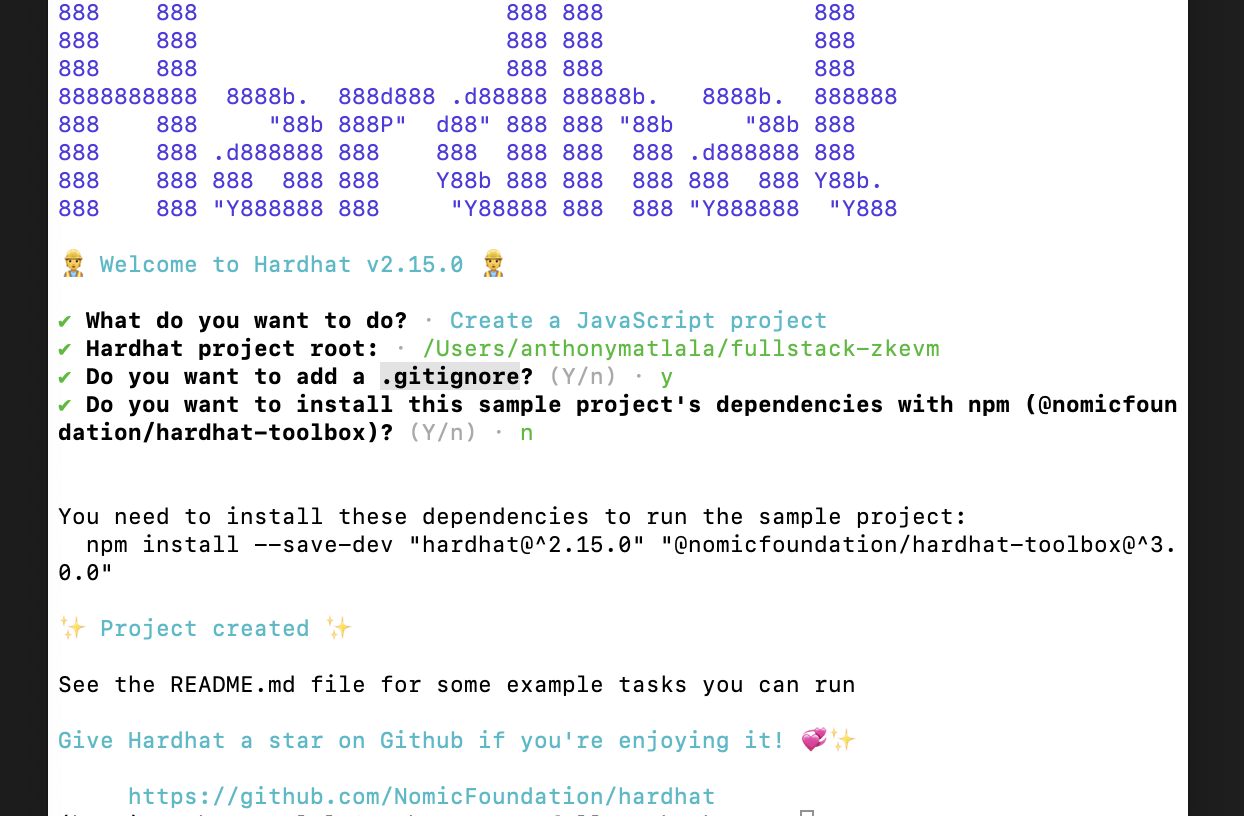
So then,
* Press `` to set the project root.
* Press `` again to accept addition of `.gitignore`.
* Type `n` to reject installing `sample project's dependencies`.
The idea here is to postpone installing dependencies to later steps due to a possible version-related bug.
* Open the `hardhat.config.js` file and paste the below code:
```javascript
require("dotenv").config();
require("@nomicfoundation/hardhat-toolbox");
/** @type import('hardhat/config').HardhatUserConfig */
module.exports = {
solidity: "0.8.9",
paths: {
artifacts: "./src",
},
networks: {
blastChain: {
url: `https://zkevmrpc.blastchain.org`,
accounts: [process.env.ACCOUNT_PRIVATE_KEY],
},
},
};
```
Note that a different path to artifacts is added so that the React app can read the contract ABI within the `src` folder.
### Add scripts
* Create a new file, in the contracts folder, named `Counter.sol`: `touch contracts/Counter.sol`.
* Copy the below code and paste it in the Counter contract code:
```javascript
//SPDX-License-Identifier: MIT
pragma solidity ^0.8.9;
contract Counter {
uint256 currentCount = 0;
function increment() public {
currentCount = currentCount + 1;
}
function retrieve() public view returns (uint256){
return currentCount;
}
}
```
* Create a new file in the scripts folder `deploy-counter.js`: `touch scripts/deploy-counter.js`.
* Add the code below to the `deploy-counter.js` file:
```javascript
const hre = require("hardhat");
async function main() {
const deployedContract = await hre.ethers.deployContract("Counter");
await deployedContract.waitForDeployment();
console.log(
`Counter contract deployed to https://blastchain.org/address/${deployedContract.target}`
);
}
main().catch((error) => {
console.error(error);
process.exitCode = 1;
});
```
* Before compiling the contract, you need to install the toolbox. You may need to change directory to install outside the project. Use this command:
```bash
npm install --save-dev @nomicfoundation/hardhat-toolbox
```
* Compile your contract code (i.e., go back to the project root in the CLI):
```bash
npx hardhat compile
```
* Now run the scripts:
```bash
npx hardhat run scripts/deploy-counter.js --network blastChain
```
Here’s an output example:
`Counter contract deployed to https://blastchain.org/address/0x5FbDB2315678afecb367f032d93F642f64180aa3`
### Update frontend
The next step is to turn `Counter.sol` into a dApp by importing the `ethers` and the `Counter` file, as well as logging the contract’s ABI.
* Include the below code in the `App.js` file:
```
import { ethers } from "ethers";
import Counter from "./contracts/Counter.sol/Counter.json";
const counterAddress = "your-contract-address"
console.log(counterAddress, "Counter ABI: ", Counter.abi);
```
* Update the `counterAddress` to your deployed address.
* It is the hexadecimal number found at the tail-end of the output of the last `npx hardhat run ...` command and looks like this `0x5FbDB2315678afecb367f032d93F642f64180aa3`.
* It must be pasted in the `App.js` to replace `your-contract-address`. Be sure to use the deployed address from your own implementation!
* Update frontend counter to read from blockchain. Include the below code in the `App.js` file:
```javascript
useEffect(() => {
// declare the data fetching function
const fetchCount = async () => {
const data = await readCounterValue();
return data;
};
fetchCount().catch(console.error);
}, []);
async function readCounterValue() {
if (typeof window.ethereum !== "undefined") {
const provider = new ethers.providers.Web3Provider(window.ethereum);
console.log("provider", provider);
const contract = new ethers.Contract(
counterAddress,
Counter.abi,
provider
);
console.log("contract", contract);
try {
const data = await contract.retrieve();
console.log(data);
console.log("data: ", parseInt(data.toString()));
setCount(parseInt(data.toString()));
} catch (err) {
console.log("Error: ", err);
alert(
"Switch your MetaMask network to Blast Chain and refresh this page!"
);
}
}
}
```
* Also, to import `useEffect`, insert it like this:
```javascript
import { useState, useEffect } from "react";
```
* To be able to track a loader, add this to your state:
```javascript
const [isLoading, setIsLoading] = useState(false);
```
* This is within the `App()` function.
* Let frontend counter write to the blockchain by adding the below `requestAccount` and `updateCounter` functions:
```javascript
async function requestAccount() {
await window.ethereum.request({ method: "eth_requestAccounts" });
}
async function updateCounter() {
if (typeof window.ethereum !== "undefined") {
await requestAccount();
const provider = new ethers.providers.Web3Provider(window.ethereum);
console.log({ provider });
const signer = provider.getSigner();
const contract = new ethers.Contract(counterAddress, Counter.abi, signer);
const transaction = await contract.increment();
setIsLoading(true);
await transaction.wait();
setIsLoading(false);
readCounterValue();
}
}
```
Place these two functions above the `readCounterValue()` function in the `App.js` file.
* Replace the `incrementCounter` function with this one:
```javascript
const incrementCounter = async () => {
await updateCounter();
};
```
* Update the increment button code to:
```javascript
```
Now, run the Counter dApp by simply using `npm start` in CLI at the project root.
Congratulations for reaching this far. You have successfully deployed a dApp on the Blast Chain.